Computer related
CatanAid
Jun 1st
Posted by schimkat in Computer related
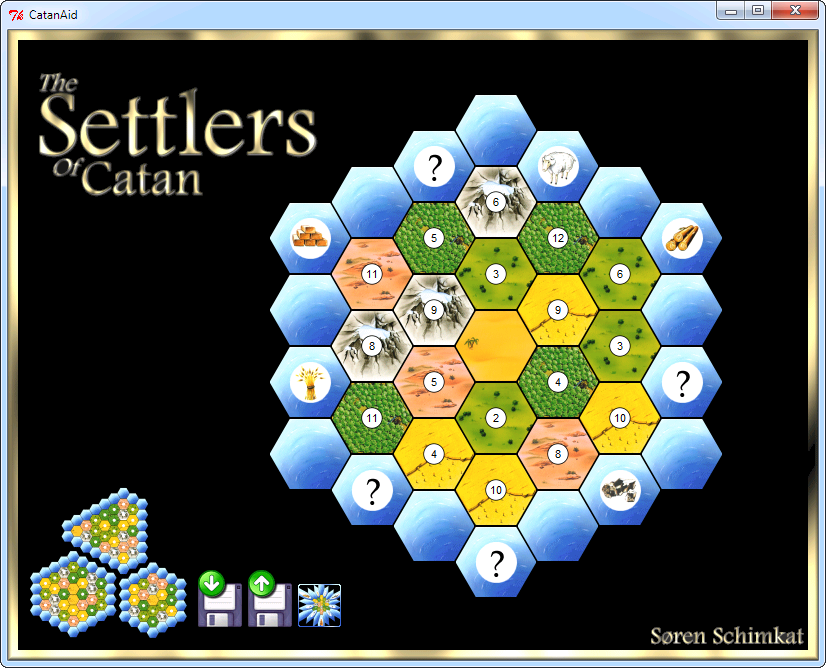
I keep getting requests for this oldie (but goodie), så here you go: CatanAid-0.42.zip
CatanAid is a board geneator for The Settlers of Catan, written in Perl. For running CatanAid, you need to install Perl (if running Windows – Strawberry Perl would be a fine choice). When the Perl interpreter has been installed, you are ready for running CatanAid.
When Perl has been installed, you may need to install the Perl TK module. For installing Perl Tk, run the following command: cpan install Tk
DialogLib
Apr 24th
Posted by schimkat in Computer related
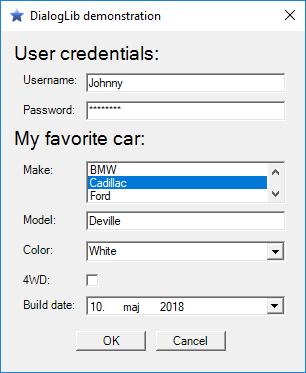
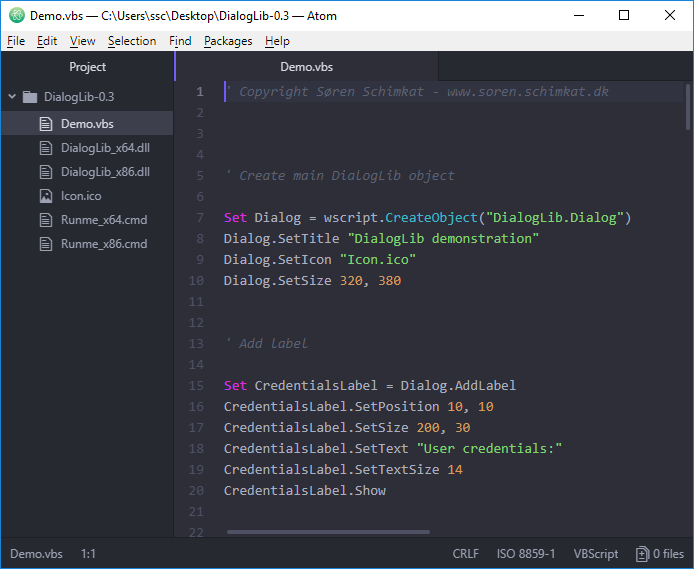
Ever wanted to create something as simple as a login form using vbscript, or just som other form with more that one textbox .. or perhaps create forms with listboxes, comboxes and stuff like that? Sure you has, and then you realized that is just isn’t possible. Fear no more .. DialogLib is here: DialogLib-0.3.zip
24/11-2018: DialogLib is no longer maintained by me – so I hereby release the source into the public domain. Feel free to alter and use the code as you see fit: DialogLib-Source.zip
Compiling Rdesktop for Win32
Jan 21st
Posted by schimkat in Computer related
So you wanna have an opensource RDP client for Windows. Well .. no problem. Here is what you do:
Visit www.cygwin.com and download setup.exe. When downloaded, you must launch setup.exe and install a complete Cygwin environment. Cygwin is only needed when compiling Rdesktop, so don´t worry about the diskspace usage. You will get it all back again, when deleting cygwin.
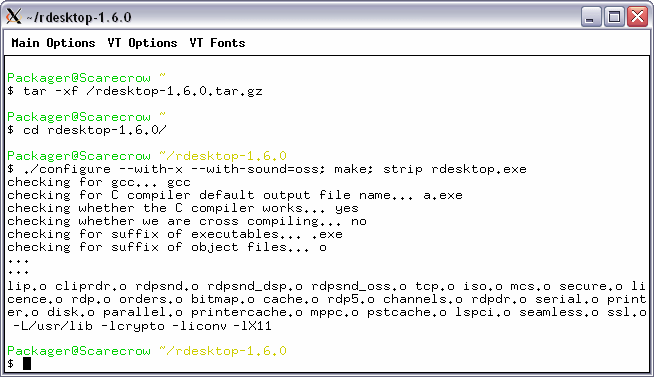
When Cygwin has been installed, it´s time to visit www.rdesktop.org, and download the latest release of the Rdesktop client. Save the tarball in the cygwin root folder, which defaults to c:\cygwin. At the time of writing, the latest version of Rdesktop is 1.6.0. When the package has been downloaded, it’s time to start the Cygwin XWin Server, and start compiling Rdesktop. Type the following commands into the shell, that starts with the X server:
tar -xf /rdesktop-1.6.0.tar.gz
cd rdesktop-1.6.0/
./configure --with-x --with-sound=oss; make; strip rdesktop.exe
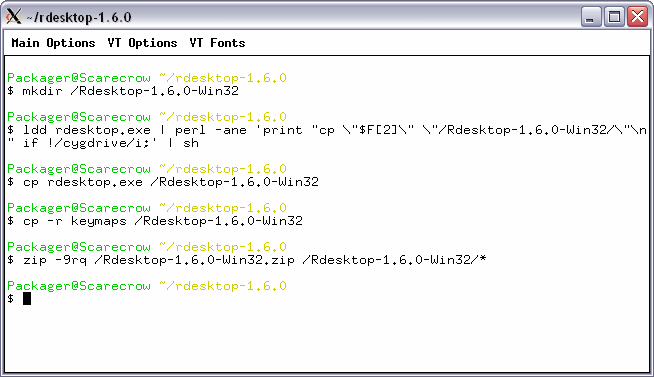
Rdesktop has now been compiled (lucky you), and it’s time to collect all needed files for the RDP client, and create a single .zip file containing the Rdesktop Win32 distribution. Type the following commands into the shell for creating the Rdesktop distribution:
mkdir /Rdesktop-1.6.0-Win32
ldd rdesktop.exe | perl -ane 'print "cp \"$F[2]\" \"/Rdesktop-1.6.0-Win32\"\n" if !/cygdrive/i;' | sh
cp rdesktop.exe /Rdesktop-1.6.0-Win32
cp -r keymaps /Rdesktop-1.6.0-Win32
zip -9rq /Rdesktop-1.6.0-Win32.zip /Rdesktop-1.6.0-Win32/*
By now you should have a Rdesktop distribution in your Cygwin root, named Rdesktop-1.6.0-Win32.zip. This .zip file contains all you need, to connect to your RDP compliant hosts (ie. Windows hosts), from any Win32 computer:
rdesktop.exe [hostname]
Troubleshooting:
If you are having trouble with compiling your own Rdesktop client, you may choose to download the package that I created for this article: Rdesktop-1.6.0-Win32.zip
If you should see the following error message:
ERROR: Failed to open display:
.. then your X-server is not running (download and install Xming if you need one), or your DISPLAY environment variable is not set. Set the needed variable with this command:
set DISPLAY=127.0.0.1:0
New additions to this post:
18/04/2011: Rdesktop-1.7.0-Win32.zip has been compiled using this guide.
30/03/2012: Rdesktop-1.7.1-Win32.zip has been compiled using this guide – and a slightly modified version has been created for creating a Windows Installer MSI: Rdesktop-1.7.1-Win32.msi
30/10/2019: Rdesktop-1.9.0-Win32.zip has been compiled for your benefit, and a Windows Installer MSI has been created as well: Rdesktop-1.9.0-Win32.msi
Inline images in Perl/TK applications.
Dec 6th
Posted by schimkat in Computer related
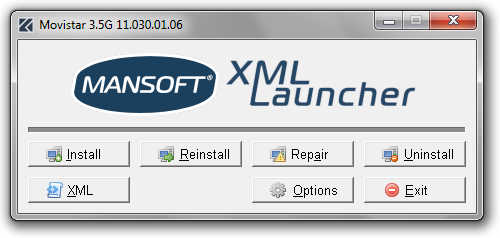
Here you see a screenshot of an Perl/TK application, which isn´t quite like other Perl/TK applications. The difference between this and almost all the other TK applications you may be using, is that this application has all the nice images included in line. Wow .. this is neat stuff, but how is it done?
Sit back, and i’ll tell ya. :-)
Well .. first of all, you need to organise all the .gif images, that the application need, in a directory structure that makes sense. It could look something like this:
images/logos
images/buttons
...
When the images has been organized, you need to create a script, that will convert the imagedata to plain text. This script is called generate.pl, and must be located just outside the images directory. Here is the code for the generate.pl script:
use GD;
use MIME::Base64;
foreach (<images/*>) {
   my $type = (split/\//, $_)[1];
   foreach (<$_/*.gif>) {
      my $name = (split /\./,((split/\//, $_)[2]))[0];
      print "Adding imagedata to datafile: $type/$name ($_).\n";
      open (GIF, $_);
      my $imagedata = encode_base64((newFromGif GD::Image(GIF))->gif);
      close GIF;
      $data .= "\n<" . $type . "/" . $name . ">\n" . $imagedata;
   }
}
open (DATA, ">graphicsdata.txt");
print DATA $data;
close DATA;
When the script has been executed, you will have a text file named graphicsdata.txt, while contains all the images as clear text. It should look like this:
<Category/Imagename>
R0lGODlhTAASAOcAAAAAADdrGThrGzlrGztsHj9wI09sP0x7MXBwcHNzc3R0dHh4eHl5eX5+fk1y
p1Z7sFZ7sVd8sVh9slh9s1h+s1l/tDeUN1OMKFePLUKhO12GRluBfFapUGCJSGaOT2+TWlqAtWiO
xGqQxmuRx2uSyG2TyW2Uym6Vy2+WzG+XzXCXzXCYznGZz3Kb0XOb0XSc0nWe1Heg1oOfdIGrYYWh ...
So far so good. Using the generated imagedata, it´s time for creating a script that holds the imagedata within the script:
use Tk;
my $ImageData = <<ENDOFGRAPHICS;
R0lGODdhIAAgAMYAAC08TTdGVj9NXEBOXUBOXkJPX0JQX0NQYERRYERSYUVTYkZTYkdUY0dVY0tY
ZkxZZ01aaE5baVBcalBca1FebFNfbVNgbVVhb1djcFhkcVllcltmdFxndVxodV1odl1pdl9qd2Fs
eWJtemNue2RvfGVwfWdyf2hzf2lzgGp0gGx3gm54hG55hXF7h3J8iHN9iXaAi3eAi3iCjaCnr6Ws
s6qxuK2zura7wcLHzMPIzcXJzsbLz8fL0MjM0cnN0srO083R1c7S1s/S1s/T19DT19HU2NLV2dPW
2tPX29TX29TY29XY3NXZ3NbZ3dba3dfa3tjb3tjb39nc39rd4Nve4dzf4gAAAAAAAAAAAAAAAAAA
AAAAAAAAAAAAAAAAAAAAAAAAAAAAAAAAAAAAAAAAAAAAAAAAAAAAAAAAAAAAAAAAAAAAAAAAAAAA
AAAAAAAAAAAAAAAAAAAAAAAAAAAAAAAAAAAAAAAAAAAAAAAAAAAAAAAAAAAAAAAAAAAAAAAAACwA
AAAAIAAgAAAH/oBVgoOEhYaHiImKi4yNhzcjkZKTkjODPyiUkU2ENACfoKGfKlOCPw2ioEidqaIr
pVU+DK0AD1KstAAssD4LtBBBhZ60u4K9tBFDhsOpLbA9CsjKy63Ogj0JtBJEgk+3g8ygLs/ZrRPc
VU8hq+CiL1SCOwi0FEWCTiEA7ILh7/EH9OxVcQLi074qzGDAq7IDYKsKRu4VNIhLoSAdBmhZiFil
yYdQBz3FWKijAK0LRwQ18SAqpAySJluhFLSkQ6qDQxbmIEALA7slG1odHJRjQE92SoIKNVSUlgYl
gpRoyDUUhwBaGZLQnEqVEI+rtBwEqyIlRS59uHI9ACJIyomuRu3O1horxQStkHI/PRDStsTSuHmT
CYrityWhGnlBRUAHZYThQYgTf9omCIoIkIRsBNjMubPnzRy0piPBWbSj06hTqz7NJBAAOw==
ENDOFGRAPHICS
$MW = MainWindow->new(-title => "Inline image demo");
$WIDGETS{'Image'} = $MW->Label(
   -image => $MW->Photo("Image", -data => $ImageData))->grid(
      -row    => 1,
      -column => 1,
      -padx => 100,
      -pady => 100);
$MW->resizable(0, 0);
MainLoop;
Voilá. That´s all that is to it. :-)
